Roof Flashing Types (8 Leak-Prevention Options You Need)
Roof leaks rarely start in the middle of a shingle. They usually begin around edges, seams, and features like chimneys or skylights. That’s why understanding different roof flashing types is key to keeping your home dry. Flashing is a critical part of your roof system, channeling water away from vulnerable areas. Whether you’re planning a new installation or tackling roof repairs in Springfield and surrounding areas, using the right flashing makes a huge difference in long-term performance and peace of mind.
- What roof flashing does and why it matters
- 9 common types of flashing and their uses
- Materials, installation methods, and durability tips
- Signs of failure and what to do next
Why Roof Flashing Deserves More Attention
Flashing is often overlooked, but it plays one of the most important roles in keeping your roof watertight. These thin metal strips or membranes are designed to redirect water away from critical joints and intersections.
- Prevents Costly Leaks: Flashing blocks water at weak points like valleys, vents, and roof edges.
- Extends Roof Life: Proper flashing keeps moisture out of roofing layers, framing, and insulation.
- Supports Energy Efficiency: Dry insulation performs better, reducing heat loss or gain.
- Protects Against Mold and Rot: Water intrusion near walls or chimneys often starts with failed flashing.
- Maintains Home Value: Leaks from poor flashing can damage ceilings, paint, and finishes inside the home.
8 Types of Roof Flashing Every Homeowner Should Know
The type of flashing used depends on where it’s installed and the shape of your roof. Here’s a breakdown of the most common styles and where you’ll find them.
1. Step Flashing
Step flashing is used where a sloped roof meets a vertical wall. It’s made up of small pieces of metal layered with each shingle to direct water safely away from the intersection.
- Ideal for dormers, sidewalls, and chimneys
- Interlocks with each shingle layer for maximum protection
- Typically made of aluminum or galvanized steel
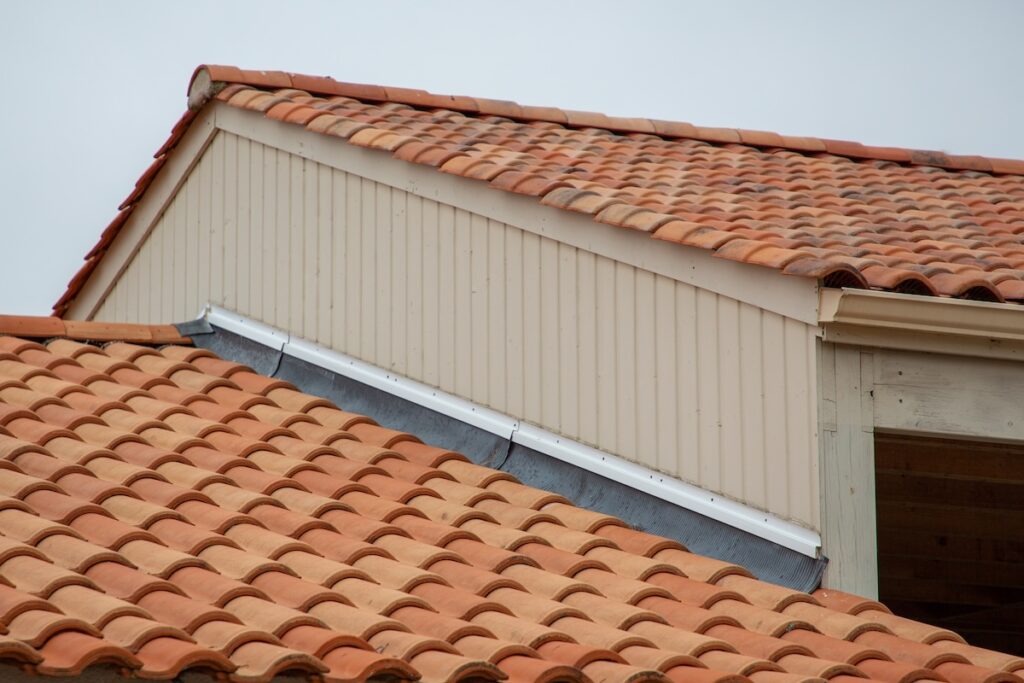
2. Continuous (Apron) Flashing
This single piece of metal runs along roof features that connect to a wall, like the base of a dormer.
- Provides a sleek, long strip of coverage
- Needs proper expansion joints to avoid cracking
- Often used in combination with step flashing
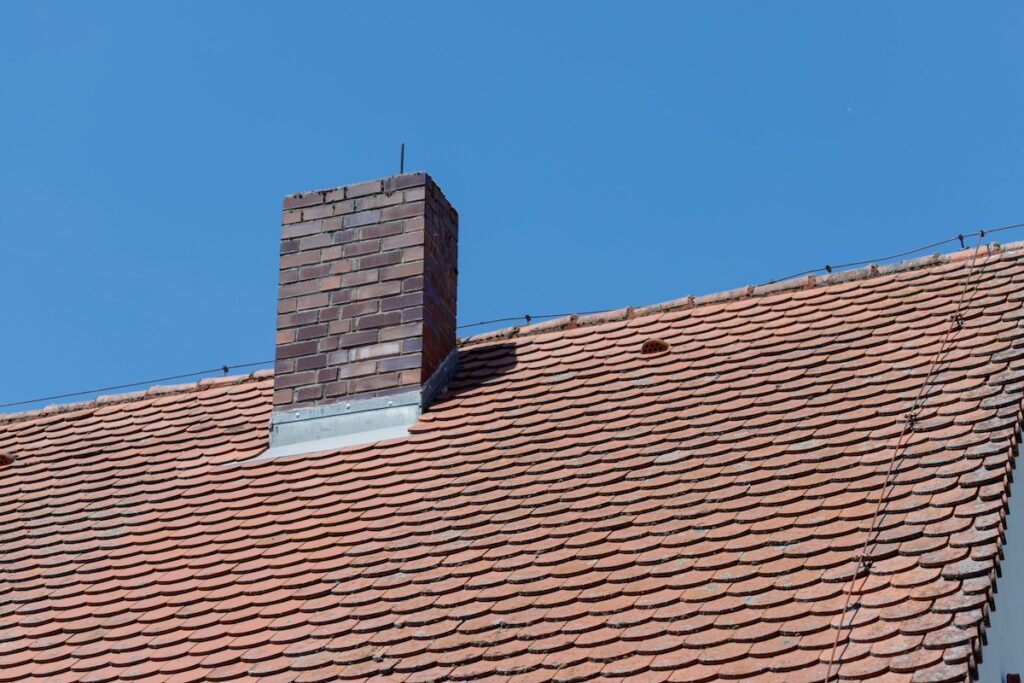
3. Base Flashing
Base flashing is the bottom section of flashing installed around a vertical penetration like a chimney or skylight. It’s paired with counter flashing for full protection.
- Installed beneath the roofing material
- Helps move water downward and away from vertical surfaces
- Works best when properly layered with step flashing
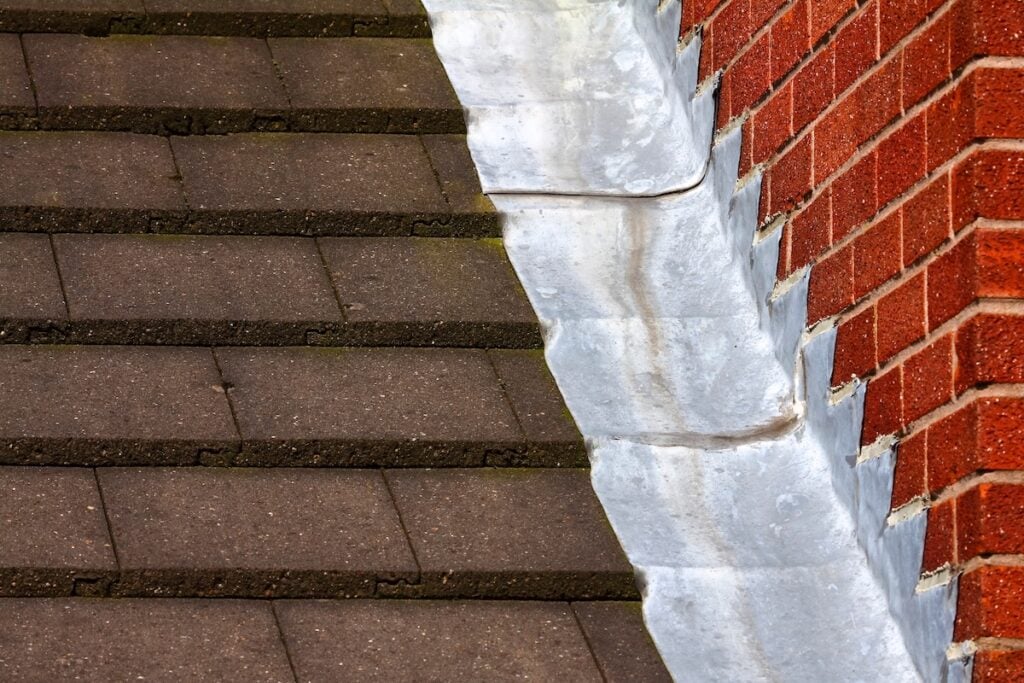
4. Counter Flashing
Counter flashing overlaps base flashing and is embedded into masonry or siding. This creates a strong seal at wall joints or chimneys.
- Visible portion of the flashing system
- Adds durability by shielding base flashing from UV and weather
- Typically made of metal or flexible membranes
5. Valley Flashing
Valley flashing is placed in the trough where two roof slopes meet, a high-risk area for water buildup.
- W-shaped or V-shaped metal runs the full valley length
- Essential in high-rainfall areas like Springfield and surrounding areas
- Installed before shingles for a watertight seal
6. Drip Edge Flashing
This flashing sits along the edge of the roof, under shingles and over the fascia. It channels water away from the edge and into gutters.
- Prevents water from rotting the roof deck or fascia boards
- A must-have for code compliance in many areas
- Commonly made of corrosion-resistant aluminum
7. Kickout Flashing
Kickout flashing bridges the gap between step flashing and the gutter. It diverts water away from siding and into the gutter system.
- Prevents siding stains and wood rot
- Often missed by untrained roofers
- Small piece, but big impact
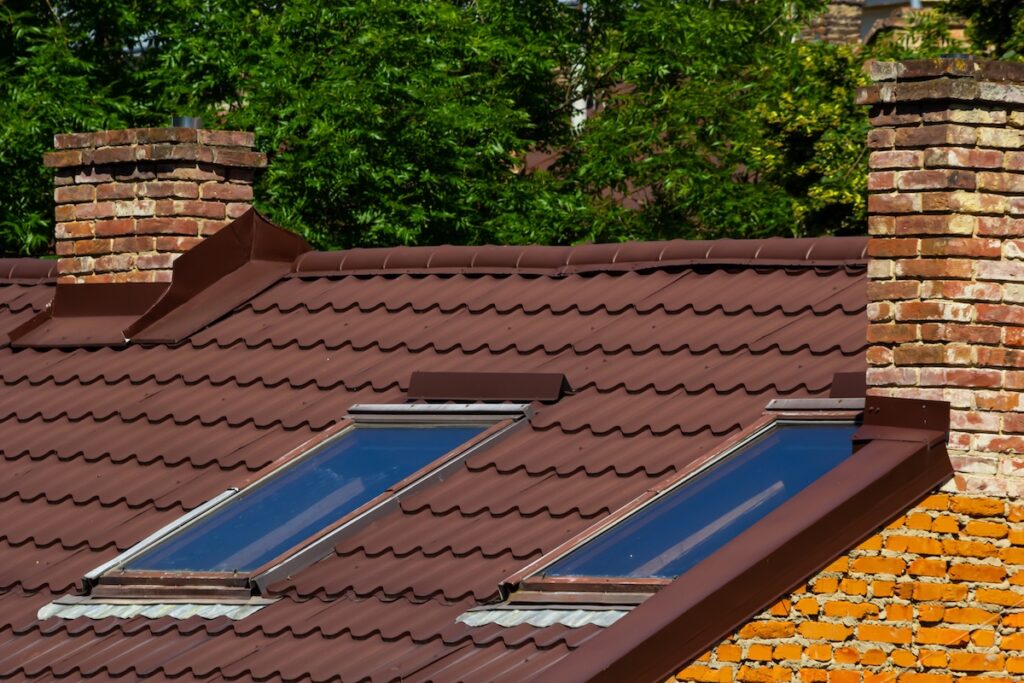
8. Pipe Boot Flashing
This cone-shaped flashing covers plumbing vent pipes and similar penetrations through the roof deck.
- Rubber boot seals tight around the pipe
- Base flanges are integrated into the roofing material
- Should be inspected regularly for cracks or UV damage
Flashing Materials and What to Expect
Choosing the right material for flashing impacts both performance and appearance. Each material has its own strengths and limitations.
| Material | Benefits | Drawbacks | Lifespan |
| Aluminum | Lightweight, rust-resistant | Can corrode when in contact with masonry | 15–20 years |
| Galvanized Steel | Affordable and strong | May rust over time if coating fails | 20–30 years |
| Copper | Extremely durable, ages attractively | Higher upfront cost | 50+ years |
| Rubber (EPDM) | Flexible, good for vent pipes | Not as durable under UV exposure | 15–25 years |
| Lead | Very malleable and long-lasting | Heavy, expensive, less common | 50+ years |
When Flashing Fails: What to Watch For
Even high-quality flashing can degrade over time. The key is catching early signs of wear or installation issues before they result in interior damage.
Common Signs of Flashing Problems
- Rust or corrosion along flashing edges
- Water stains on ceilings or around chimneys
- Loose or lifted flashing after a storm
- Mold or mildew near the roofline
- Siding damage near wall-roof intersections
Causes of Flashing Failure
- Improper installation or lack of overlap
- Roofing work done without re-flashing
- UV damage to rubber components
- Movement or settling of the roof structure
What to Do If You Suspect Flashing Damage
- Schedule a professional roof inspection
- Document visible damage or leaks with photos
- Don’t delay — water damage spreads fast and silently
Flashing and Springfield’s Climate Considerations
In Springfield and surrounding areas, roofs must endure seasonal changes that include cold snaps, heavy rain, wind, and summer heat. These shifts can accelerate flashing wear and expose weaknesses in sealing points.
Flashings in this region should:
- Be corrosion-resistant (especially near chimneys or masonry)
- Include proper drip edges to deal with freeze-thaw cycles
- Handle heavy rains and prevent pooling in valleys
- Be inspected after high-wind events to ensure secure placement
When building or updating a roof in this region, working with professionals who understand local code and climate expectations is essential. This includes the right underlayments and sealants that complement flashing systems.
Protect Your Roof by Choosing the Right Flashing
Flashing may be small compared to shingles or tiles, but it protects the most vulnerable parts of your roof. Without it, even the best roofing material can fail quickly. Understanding the different roof flashing types empowers you to make better decisions during replacement, repair, or new construction. Whether you’re noticing leaks or planning ahead in Springfield and surrounding areas, contact us today to schedule an expert inspection or flashing upgrade with All Team Exteriors.


All Together. All Protected. All Team
Get Started Today
"*" indicates required fields