Roof Inspection After Storm (7 Areas You Should Check First)
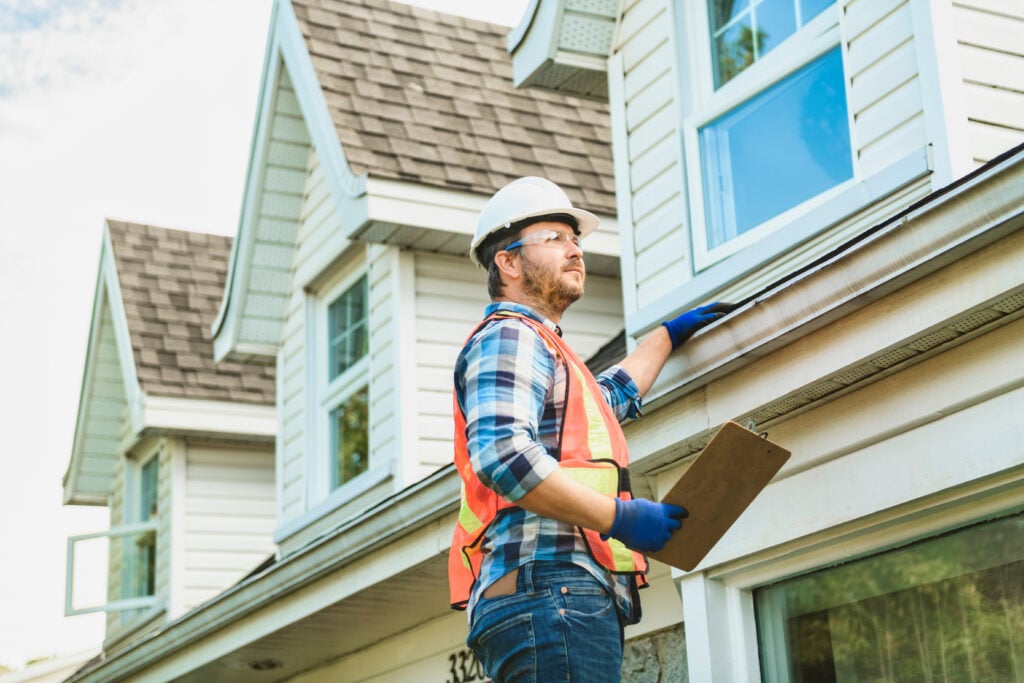
The aftermath of severe weather can leave behind hidden issues that only become worse with time. That’s why knowing how to approach a proper roof inspection after storm conditions is so important. Even if there’s no visible damage from the ground, water can seep through small cracks or loosened flashing, leading to bigger repairs down the road. Learn how to identify the most vulnerable spots by walking through the right steps. If you suspect issues after a recent weather event, take a look at the way we help Merrifield homeowners recover through our storm repair support.
What you’ll learn in this blog:
- Which roofing components suffer the most during storms
- Signs of storm-related damage you might overlook
- Steps to inspect your roof safely and effectively
- When to call a professional for help
Why Roof Inspections After Storms Matter
Storm damage doesn’t always show up immediately. A strong gust of wind or a bout of hail may leave your roof with weaknesses that develop into leaks, mold, or even structural issues if ignored. Here’s why a post-storm check is more than just good maintenance.
- Early detection: Spot problems before they escalate into major repairs.
- Insurance claims: Get proof of damage quickly while timelines are still open.
- Safety assurance: Address loose shingles or compromised materials that pose future risks.
- Home value protection: Preserve your roof’s integrity and curb appeal.
- Peace of mind: Know for certain that your home is secure after a storm.
7 Areas You Should Check First
A full roof inspection doesn’t mean you have to climb onto your roof (and you shouldn’t if it’s risky). But it does mean knowing what parts of your roof system need close attention.
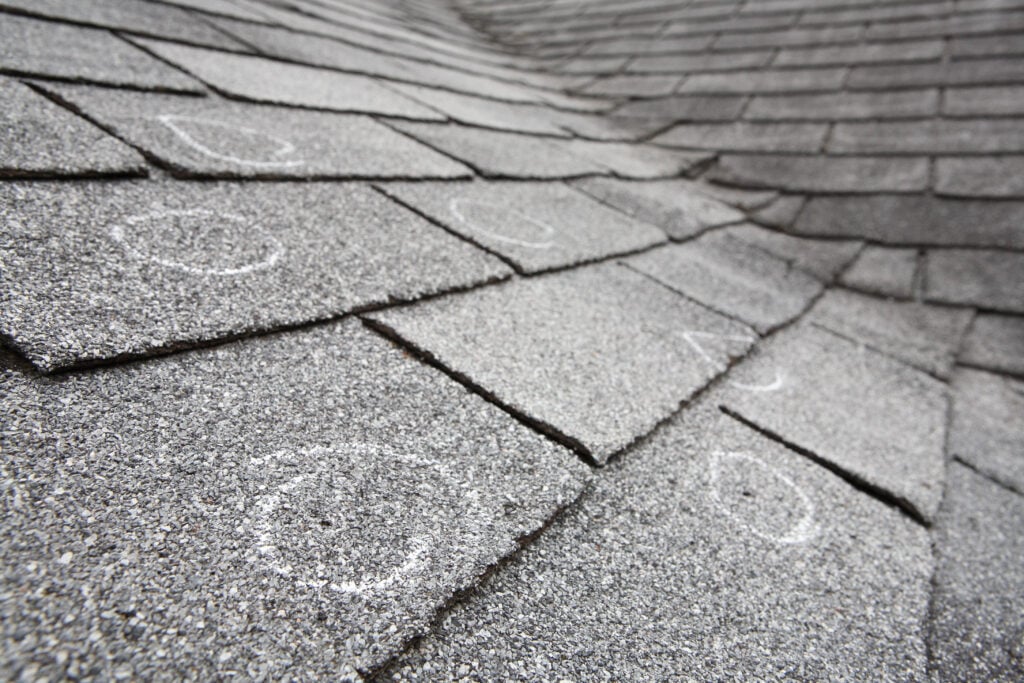
1. Shingles and Surface Materials
Start with a visual inspection from the ground using binoculars, or from a ladder if it’s safe. Look for:
- Missing shingles
- Curling or lifted edges
- Areas where granules are worn off (often found in gutters)
Granule loss, in particular, is common after hailstorms and can weaken shingle durability over time.
2. Flashing Around Vulnerable Areas
Flashing seals the areas around roof features like chimneys, skylights, and vents. Check for:
- Dents or cracks in metal flashing
- Loose or separated edges
- Signs of rust or corrosion
Flashing is often overlooked, but it’s one of the most common sources of leaks.
3. Roof Valleys
Valleys are where two roof slopes meet, creating a natural channel for water flow. Storm debris can build up in these areas, causing:
- Water pooling
- Premature wear
- Cracked or shifted shingles
Be sure valleys are clear and intact to maintain proper drainage.
4. Soffits and Fascia
Storms with high winds often impact more than just the top of the roof. Look at the horizontal surfaces along the roof edge for:
- Peeling paint or staining
- Visible rot or cracks
- Animal or insect nesting after damage
These signs suggest water has infiltrated behind your gutters or trim.
5. Gutters and Downspouts
Gutters are a great indicator of storm strength. Common issues include:
- Dented, sagging, or detached gutters
- Overflowing water or pooling near foundation
- Debris buildup or broken brackets
Also check for shingle granules inside your gutters—a signal that shingle wear has accelerated.
6. Attic Interior
Don’t forget to check inside your home for damage signs. From the attic, look for:
- Damp insulation or water stains on rafters
- Mold or mildew growth
- Light shining through the roof boards
Even if everything looks fine outside, leaks often reveal themselves inside first.
7. Ceilings and Walls Inside the Home
A roof leak doesn’t always stop at the attic. Walk through your living spaces and check for:
- Water rings on ceilings
- Bubbling paint or peeling wallpaper
- New drywall cracks near windows or ceilings
If you see these, there’s a good chance water is finding its way in through your roof.

What to Document for Insurance Purposes
After a storm, documentation can make or break your ability to get insurance support. Here’s how to handle it properly.
- Take photos: Capture every damaged area, both wide shots and close-ups.
- Note the date and storm details: Include wind speeds, hail reports, or official storm tracking maps when available.
- Track changes over time: If you’re unsure about damage, monitor spots for worsening signs over several days.
- Don’t delay: Most insurance policies have time limits for claims after storm events.
Tip: Always call your insurance provider before making temporary fixes, unless it’s an emergency repair to prevent further damage.
Professional vs DIY Inspections
While some signs of damage are easy to spot, others aren’t visible without a trained eye. Here’s a breakdown to help decide when to bring in a professional.
| Inspection Task | DIY | Professional |
| Spotting missing shingles | ✔️ | ✔️ |
| Identifying hidden flashing gaps | ❌ | ✔️ |
| Infrared moisture testing | ❌ | ✔️ |
| Full attic leak tracing | ❌ | ✔️ |
| Drone or multi-angle review | ❌ | ✔️ |
| Insurance-ready documentation | ❌ | ✔️ |
Bottom line: If you’re not sure what you’re seeing—or just want peace of mind—a professional inspection is worth the call.
Tips for a Safer Inspection
If you do plan to walk the property yourself, take safety seriously. Follow these guidelines:
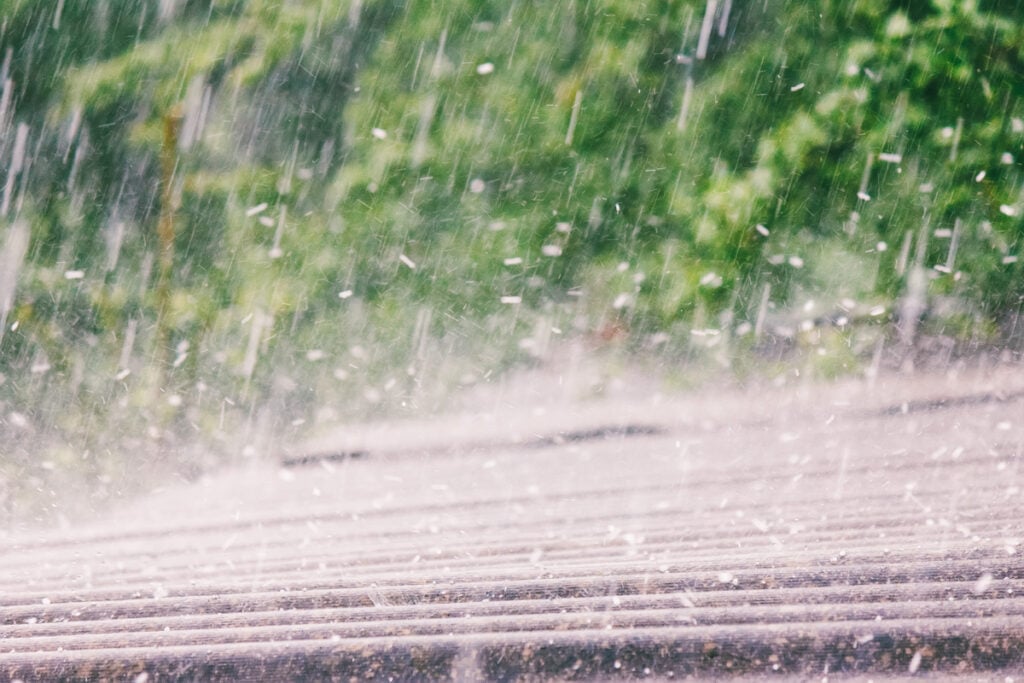
- Wait until conditions are dry. Wet shingles or ladders are dangerous.
- Never walk on a steep roof. Leave high-slope inspections to the pros.
- Use binoculars or a drone. These tools give you visibility without the risk.
- Avoid makeshift repairs. Tarping or patching should only be done if you’re confident in your safety and ability.
In Merrifield and surrounding areas, fast-changing weather means a small leak can turn into a major issue in a matter of days. When in doubt, let experienced roofing professionals take the lead.
The Right Way to Follow Up After a Storm
You’ve done your inspection. Now what? Here are a few follow-up actions that can help protect your home long-term.
- Schedule a pro inspection: Especially if anything looks questionable or the storm was severe.
- Book repairs immediately: Don’t wait for minor issues to spread.
- Upgrade storm protection: Consider impact-resistant shingles, improved flashing, or gutter guards.
- Maintain records: Keep inspection notes and receipts for any work completed.
- Plan regular checks: Once per year and after major storms is a good rhythm.
Preventative care is always less costly than emergency replacement—and it keeps your home in better condition overall.
Merrifield Storms Can Be Tough on Roofs
In Merrifield and surrounding areas, homeowners face frequent bouts of wind, rain, and snow—sometimes all in the same week. That unpredictability makes it even more essential to have a reliable inspection process ready. From aging shingles to failing seals, even a small oversight can turn into water damage, mold, or costly repairs. If your home has weathered a recent storm, even without visible damage, it’s smart to take a closer look.
Need an Expert Eye? Let Us Help
A quick look from the ground is a good first step, but nothing replaces a thorough inspection by trained professionals. If you’re unsure about the condition of your roof or think there may be hidden damage, contact us today for service inquiries. At All Team Exteriors, we help homeowners throughout Virginia navigate the process with confidence and clarity—so you can focus on protecting your home, not guessing at what’s overhead.


All Together. All Protected. All Team
Get Started Today
"*" indicates required fields