Roof Installation Process (9 Essential Steps for a Solid Roof)
A quality roof doesn’t just happen — it’s the result of careful planning and skilled execution. Whether you’re replacing an old system or building from scratch, understanding the full roof installation process helps you make informed choices every step of the way. In Alexandria and surrounding areas, where weather and home design can vary greatly, knowing how a roof comes together ensures you get the protection and longevity your home deserves. Partnering with a trusted team can make all the difference in results that last.
- A clear breakdown of each step in the roof installation process
- Materials, tools, and techniques that support long-term performance
- What to expect during each stage of your roofing project
- Tips for homeowners before, during, and after installation
Why Understanding the Roof Installation Process Matters
Whether you’re investing in asphalt shingles, metal, or specialty roofing, your roof’s durability depends just as much on how it’s installed as what it’s made of. Knowing the process keeps you informed, prepared, and confident in your decisions.
- Better Communication with Contractors: Understanding key terms and steps helps you ask smarter questions.
- Fewer Surprises: Knowing what happens each day minimizes disruptions to your routine.
- Informed Budgeting: Each stage carries its own material and labor costs.
- Improved Results: Proper installation is critical for warranties, drainage, and energy efficiency.
- Peace of Mind: Being educated gives you confidence the job is done right the first time.
9 Essential Steps in the Roof Installation Process
Installing a new roof requires more than just nailing down shingles. Each phase plays a role in long-term weather protection and performance.
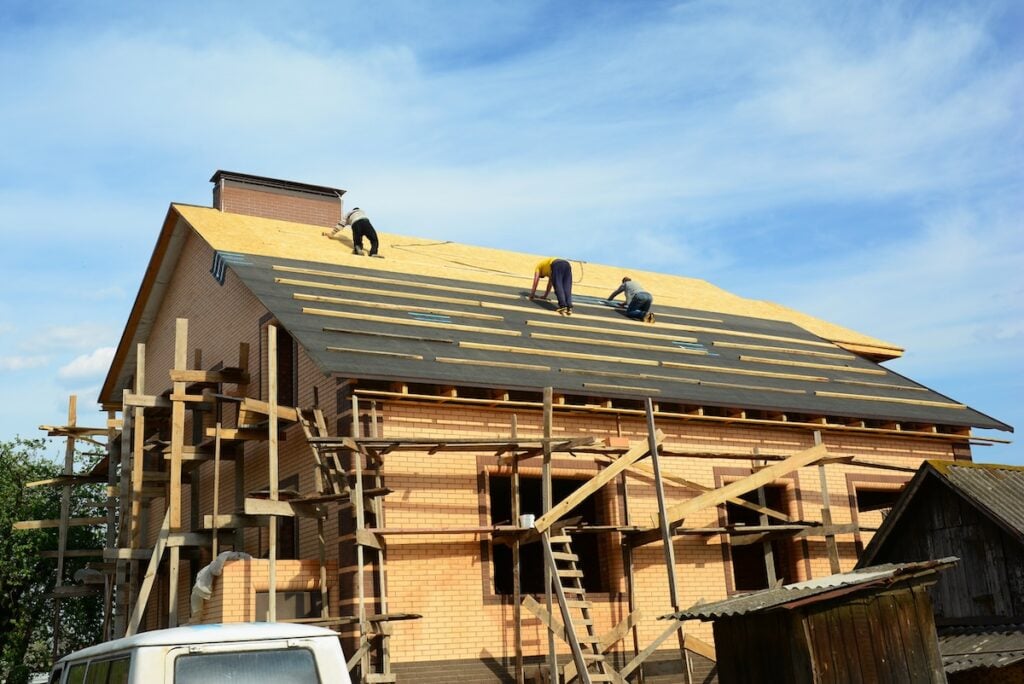
1. Property Protection and Site Prep
Before removing the old roof, your crew will take steps to protect your landscaping, driveway, siding, and windows.
- Tarps, plywood, and temporary fencing are often used
- Dump trailers or containers are staged for debris
- Crew safety equipment is also set up at this time
This prep phase ensures the job is efficient, clean, and damage-free.
2. Tear-Off of Existing Roof
Unless it’s a new construction, your old roofing materials need to be completely removed.
- Shingles, underlayment, flashing, and nails are stripped down to the decking
- Decking is inspected for rot, sagging, or soft spots
- Damaged decking is replaced before moving forward
Full removal gives your new roof a fresh, solid foundation.
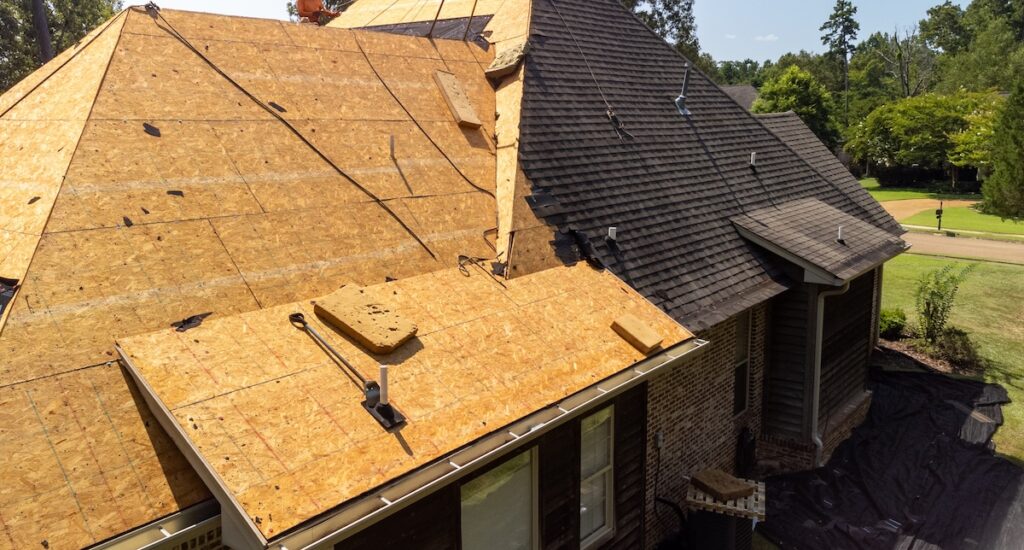
3. Deck Inspection and Repairs
Once the roof is stripped, the plywood or OSB deck is thoroughly examined. This is the layer everything else rests on.
- Any loose or warped sections are resecured or replaced
- Local codes may require specific thicknesses or fastening patterns
- Decking must be dry and clean before proceeding
Skipping this step can lead to leaks and structural failure later.
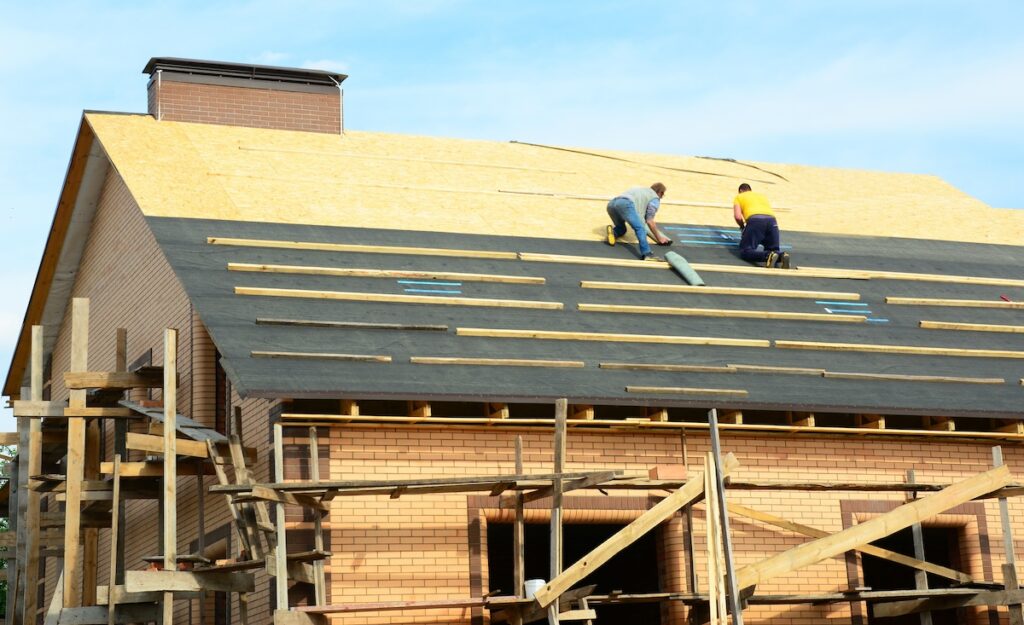
4. Installation of Underlayment
Underlayment acts as a moisture barrier and secondary layer of protection beneath the shingles.
- Synthetic or felt materials are rolled out over the deck
- Ice and water shield may be added to valleys or edges
- The entire surface is fastened flat to avoid bumps in the final roof
This step is crucial in Alexandria and surrounding areas where sudden storms are common.
5. Flashing and Drip Edge Installation
Flashing is installed around vulnerable areas like chimneys, skylights, and valleys, while drip edges protect the roof perimeter.
- Aluminum or steel flashing diverts water away from seams
- Drip edge metal is fastened to eaves and rakes before shingles are laid
- Roofers ensure overlapping joints to prevent water intrusion
Proper flashing helps your roof last longer and reduces repair needs.
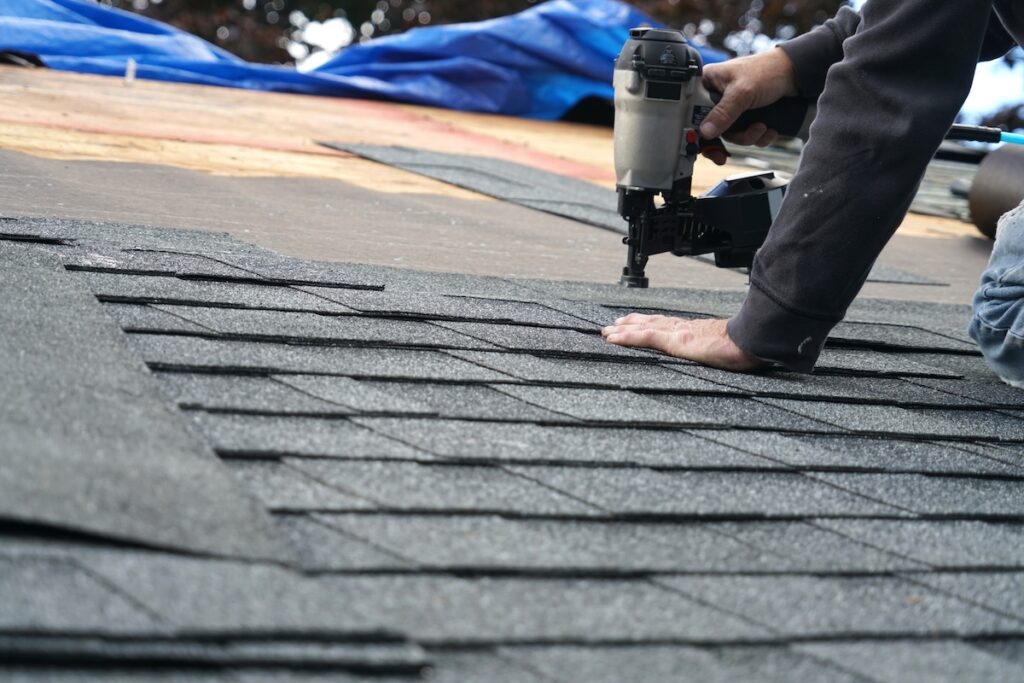
6. Shingle or Panel Installation
Now the visible roofing materials go on. Depending on your material, this step may take one day or several.
- Asphalt shingles are layered using the manufacturer’s pattern and nailing zones
- Metal panels are measured, cut, and secured with fasteners and sealant
- Tile, slate, or other specialty systems require careful layout and fastening
Crews follow strict patterns to ensure proper water shedding and wind resistance.
7. Ventilation and Ridge Cap Install
Ventilation is essential for reducing attic moisture and extending roof life.
- Ridge vents, soffit vents, or gable vents may be installed depending on attic design
- Ridge caps are added along roof peaks to seal the system while allowing airflow
- Correct vent balance prevents ice dams, mold, and premature aging
Your attic stays cooler in summer and drier in winter thanks to proper airflow.
8. Site Cleanup and Final Inspection
Once installation is complete, your property is thoroughly cleaned and inspected.
- Nails and debris are collected using magnetic rollers
- Old materials are hauled away
- A project supervisor will inspect all flashings, seams, and shingle lines
You’ll receive photos, documentation, and any warranty paperwork as part of the handoff.
9. Homeowner Walkthrough and Warranty Registration
Before wrapping up, your contractor should walk you through the finished project.
- You’ll confirm workmanship, answer questions, and review care tips
- Manufacturer warranties may be registered at this point
- This is the time to flag any concerns before the team leaves
Most professional installers also offer a follow-up inspection within the first year.
Materials That Matter in Roof Installation
A strong roof depends on more than the surface you see. Here’s a breakdown of what’s used underneath and around your shingles or panels.
Key Materials
- Decking: Plywood or OSB that forms the base structure
- Underlayment: Synthetic or felt layer that resists moisture
- Ice & Water Shield: Waterproof barrier used in leak-prone areas
- Drip Edge: Metal strip that directs water into gutters
- Starter Shingles: First course layer designed to seal the roof edge
- Ridge Cap Shingles: Protects and finishes the roof peaks
- Roof Flashing: Seals around chimneys, skylights, and walls
Each product must be installed according to the manufacturer’s specifications to protect your warranty and performance.
Roof Installation Timeline: What to Expect
How long does roof installation take in Alexandria and surrounding areas? It depends on a few factors, but here’s a general idea.
| Roof Size/Type | Average Duration | Factors That Affect Timeline |
| Small asphalt shingle roof | 1–2 days | Weather, crew size, complexity |
| Medium-size home | 2–3 days | Multiple slopes, valleys, or dormers |
| Large home or complex roof | 3–5+ days | Specialty materials or steep pitches |
| Metal or tile roofing | 4–7+ days | Panel cutting, fastening, additional prep |
Keep in mind that unexpected repairs (like decking replacement) may add time to the project.
Preparing for Roof Installation: Homeowner Tips
Your contractor handles the heavy lifting, but there are things you can do to ensure a smooth installation.
Before the Project
- Move Vehicles: Free up driveway space for equipment and debris trailers
- Secure Fragile Items: Remove wall hangings and breakables from ceilings or attic
- Notify Neighbors: Let them know about upcoming noise and crew presence
During Installation
- Keep Pets Inside: Loud noises and strangers may cause stress
- Limit Access to Yard: Stay clear of falling debris and active work zones
- Communicate with Crew Lead: Keep one point of contact for updates or questions
After the Job
- Inspect Cleanup: Ensure nails and debris are fully cleared
- Check Gutters: Debris can block water flow and should be removed
- Review Warranties: Understand your coverage for both labor and materials
Get the Roof You Deserve with a Smooth Installation
A successful roof installation isn’t just about nailing down shingles — it’s about following a proven process that ensures your home stays dry, efficient, and beautiful for years to come. From prep work and material selection to expert finishing, every step plays a role in protecting your investment. If you’re ready to replace your roof in Alexandria and surrounding areas, contact us today to schedule a consultation with All Team Exteriors.


All Together. All Protected. All Team
Get Started Today
"*" indicates required fields